In today’s digital landscape, captivating visuals are essential for engaging online audiences. Whether you’re a small business owner, freelancer, or entrepreneur, having polished images on your website can make all the difference. With UENI’s intuitive editing features, enhancing your website’s images has never been simpler. In this blog post, we’ll guide you through the straightforward process of editing images on your UENI website, helping you make your online presence truly shine.
Note: Before we delve into the details, please note that this feature is currently available to users on our Launch, Plus, and Growth plans.
Step 1: Access the Image Editing Section
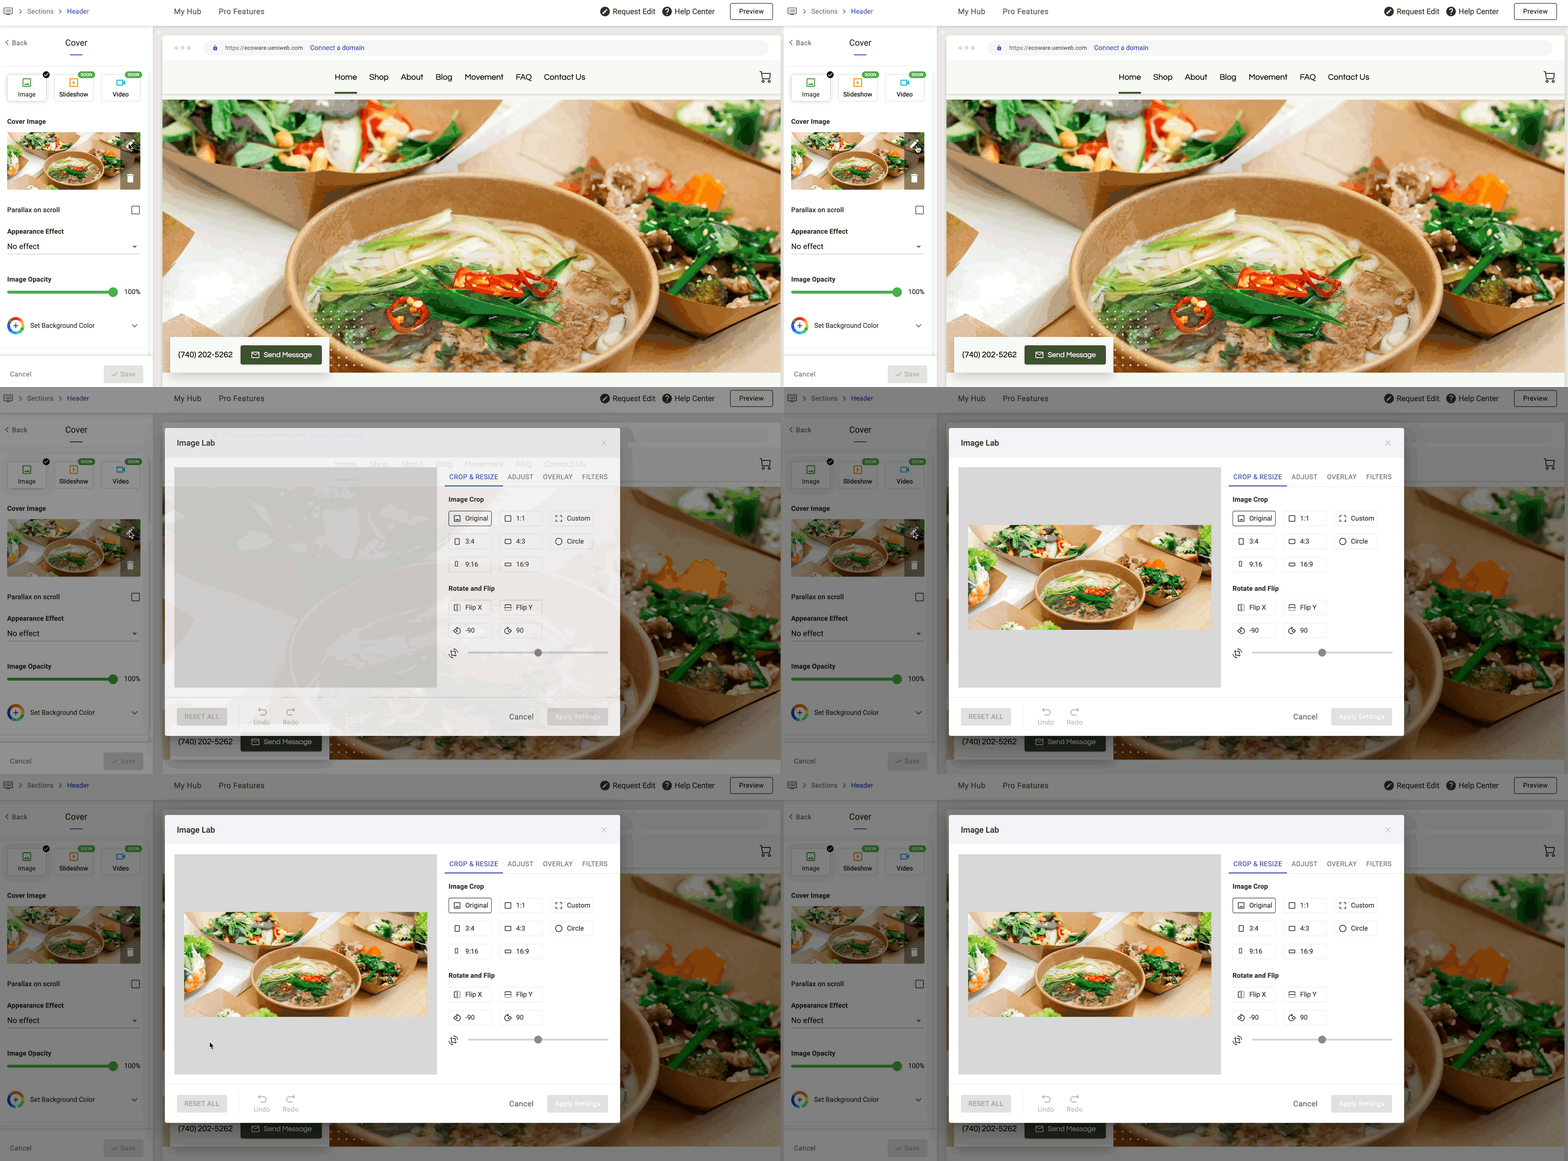
Begin by logging in to your UENI Hub and navigating to the “Edit Website” section. From there, explore our image edit feature in four main sections:
- Header > Cover Image
- About > Media Image
- Products Image
- Services Image
Simply click on the Edit icon to start editing your images.
Step 2: Customize Your Images
Once you’ve accessed the image editing section, you’ll find a plethora of options to customize your images. Check out our helpdesk article to see a step-by-step guide on how to edit your images.
Crop: Adjust the dimensions of your images to fit your website’s layout perfectly. Choose from various aspect ratios or opt for a custom crop for precise adjustments.
Rotate & Flip: Experiment with different orientations to ensure your images are displayed exactly as you envision them.
Adjust: Fine-tune your images by tweaking settings such as brightness, contrast, saturation, hue, colorize, blur, and sharpness. These adjustments allow you to achieve the desired look and feel for your visuals.
Overlay: Add artistic flair to your images by applying color gradients or overlays, enhancing their visual appeal and adding depth.
Filters: Explore a variety of pre-made effects such as black & white, sepia, lighten, darken, and tint from our library of filters, instantly transforming your images with a single click.
🌟Pro Tip🌟
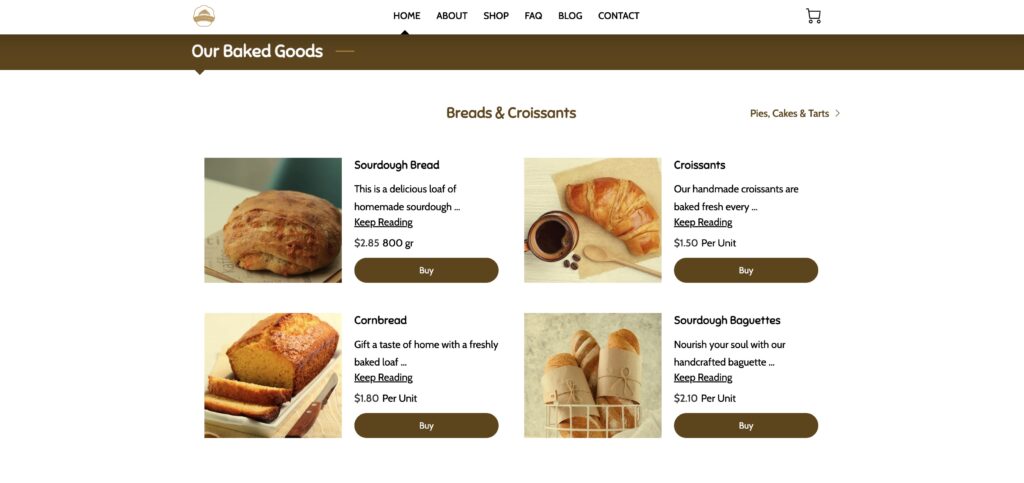
For a consistent look of your website, you can use one filter for similar images. For example, apply the same filter for images in the same section of your page. In this example, all the images are enhanced with the ‘Sepia’ filter.

Voila! Images appear consistent and your page achieves a professional makeover!

Step 3: Save Your Changes
After making your desired adjustments, simply click on “Apply Settings” and then “Save” to apply your edits. If you wish to revert to the original image or start fresh, you can use the “Undo” or “Reset all” options, respectively.
Check out some of our examples!
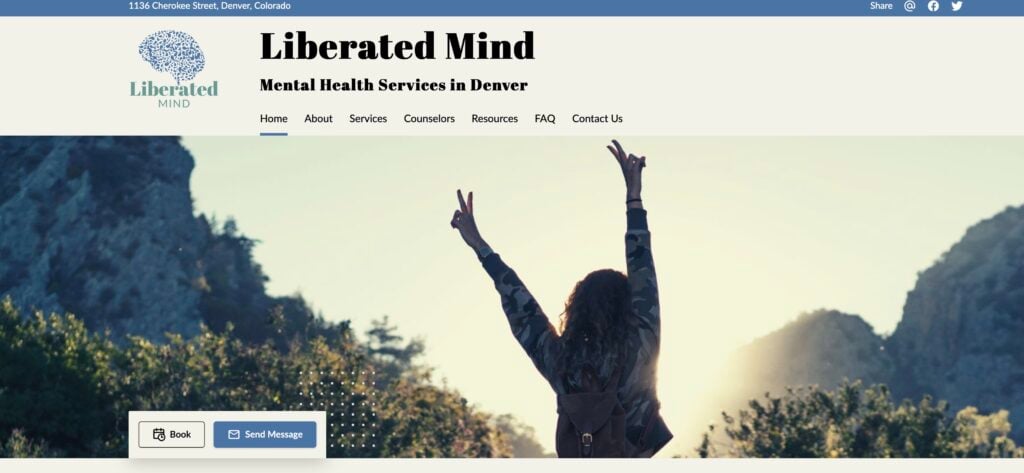
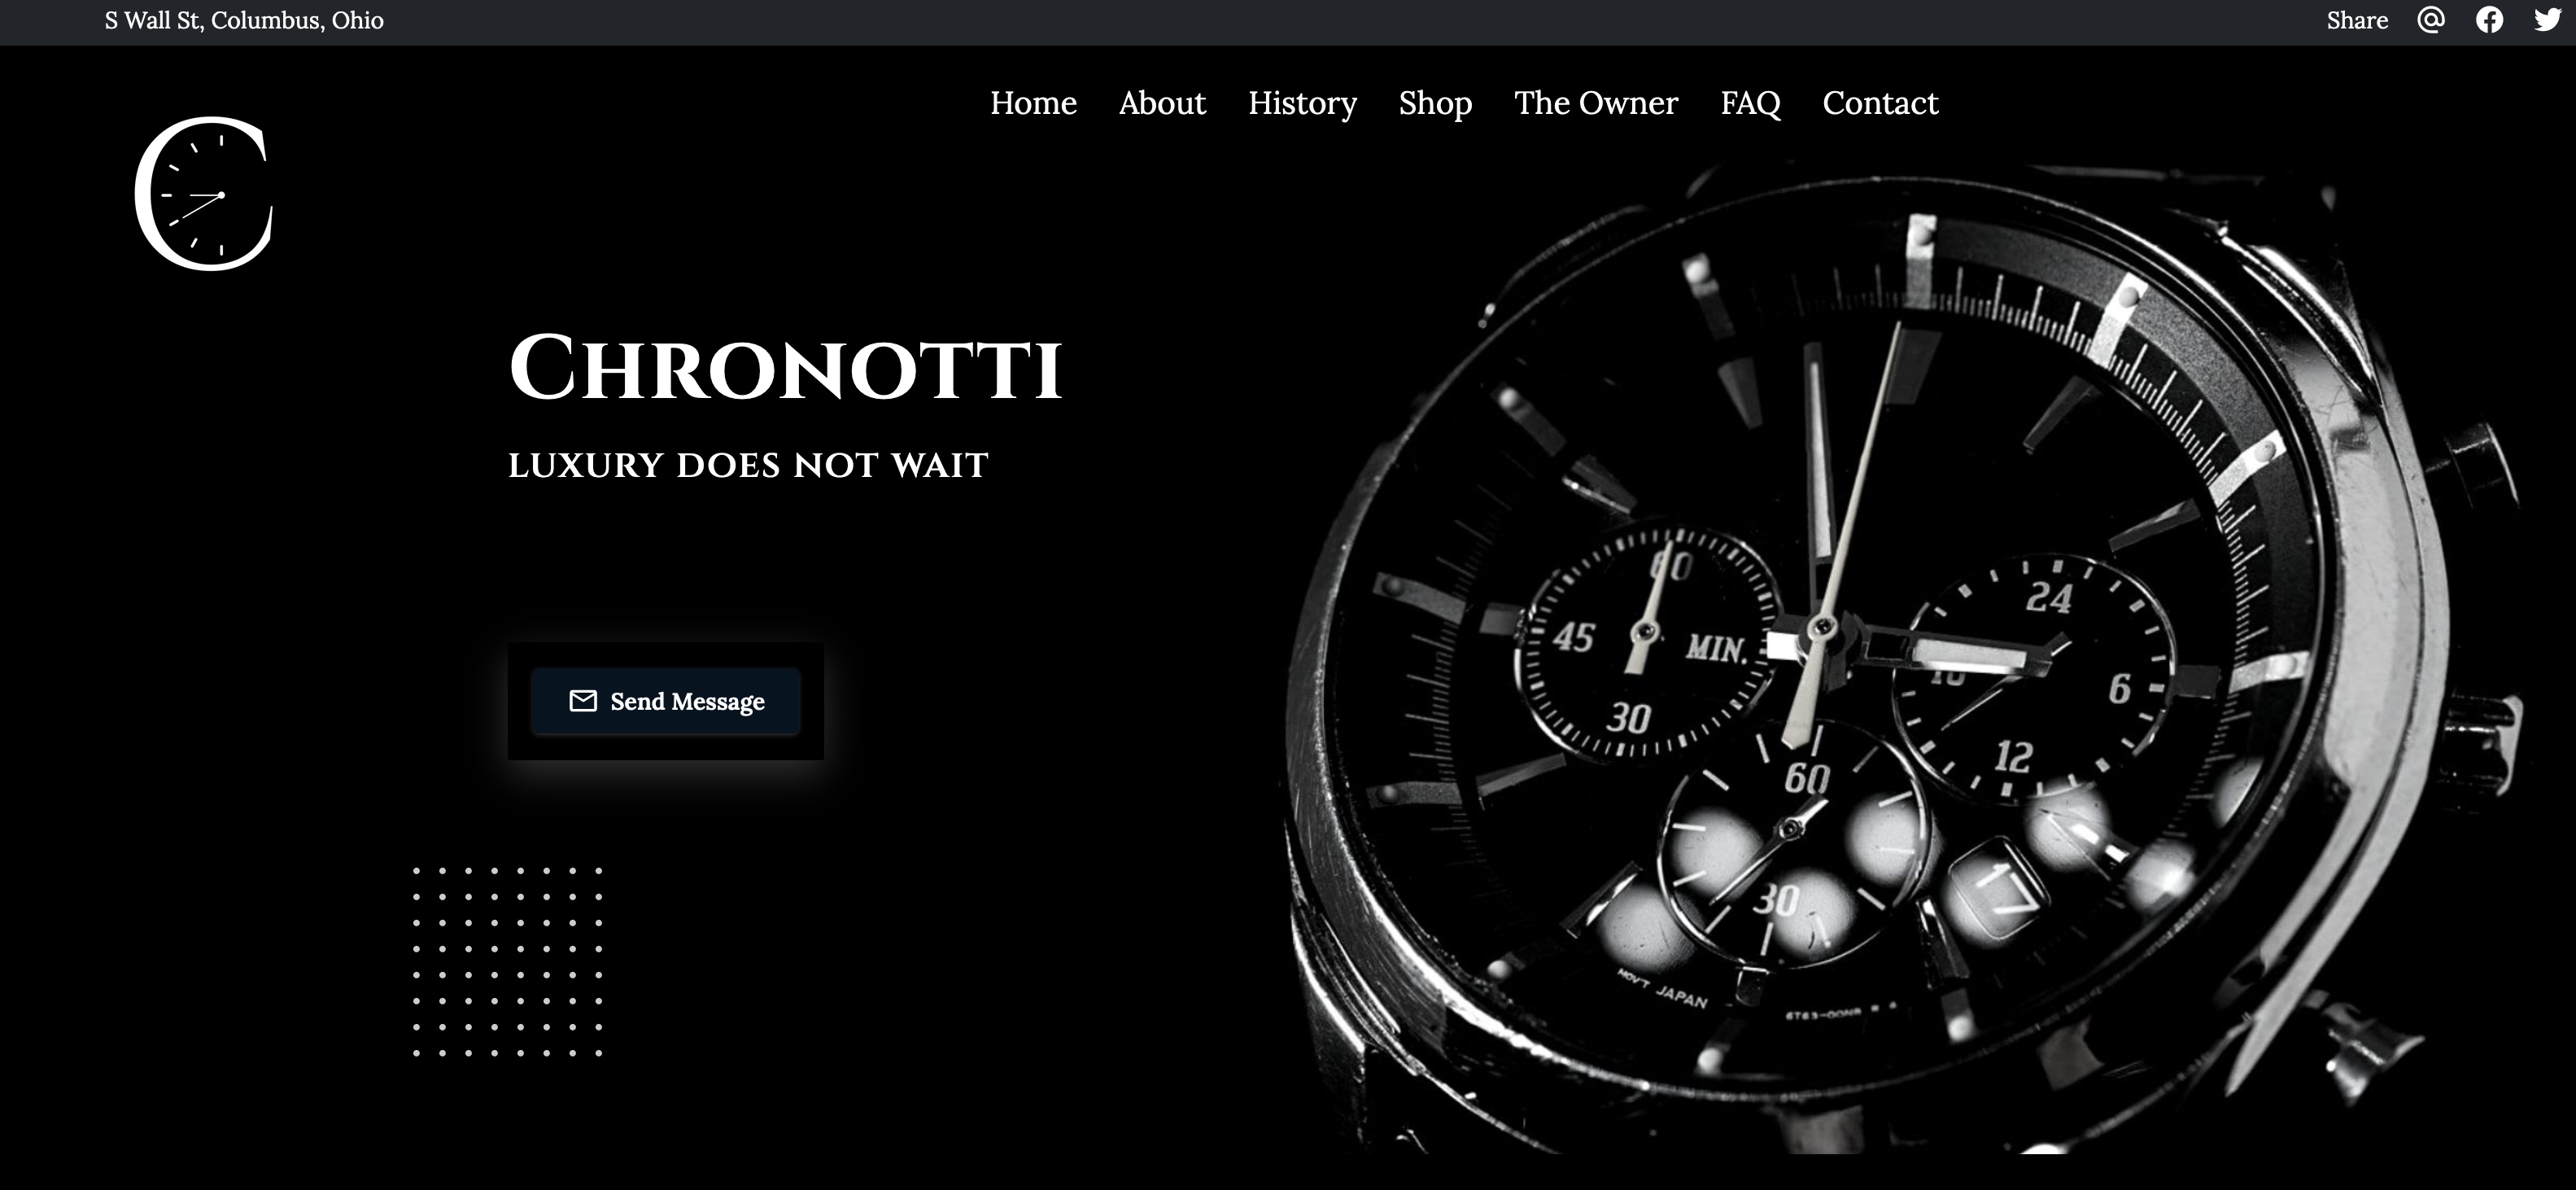

By harnessing UENI’s powerful editing tools, you can elevate the visual aesthetics of your website with ease. Whether you’re showcasing products, highlighting services, or sharing your portfolio, polished images can leave a lasting impression on your visitors. Take control of your online presence today by editing your images with UENI, and unlock the full potential of your website’s visuals.


