
Before you’re able to set up your Facebook Shop, you will need to set up Facebook sync. If you haven’t done that yet, head over to this article to learn how to set up Facebook sync on your UENI page. Once you’ve completed those steps and your website has been synched successfully, it’s time to create your Facebook Shop.
For a video of the whole process, have a look below. If you’ve already completed the Facebook sync and want to skip that part, jump to 0:58.
To begin, open your Product Sync section (in the UENI Editor, navigate to Settings, Shopping Cart, and then Product Sync). You’ll see that your Facebook settings should have changed.
1. Click Configure Facebook Shop

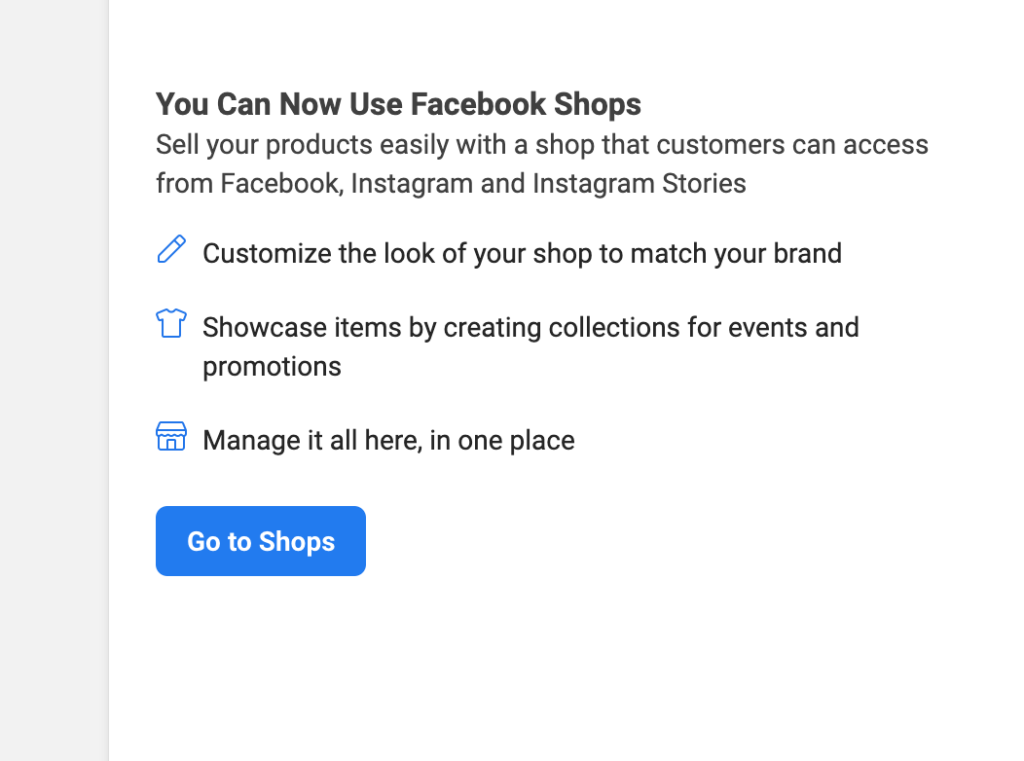
2. Then, click on Go to Shops
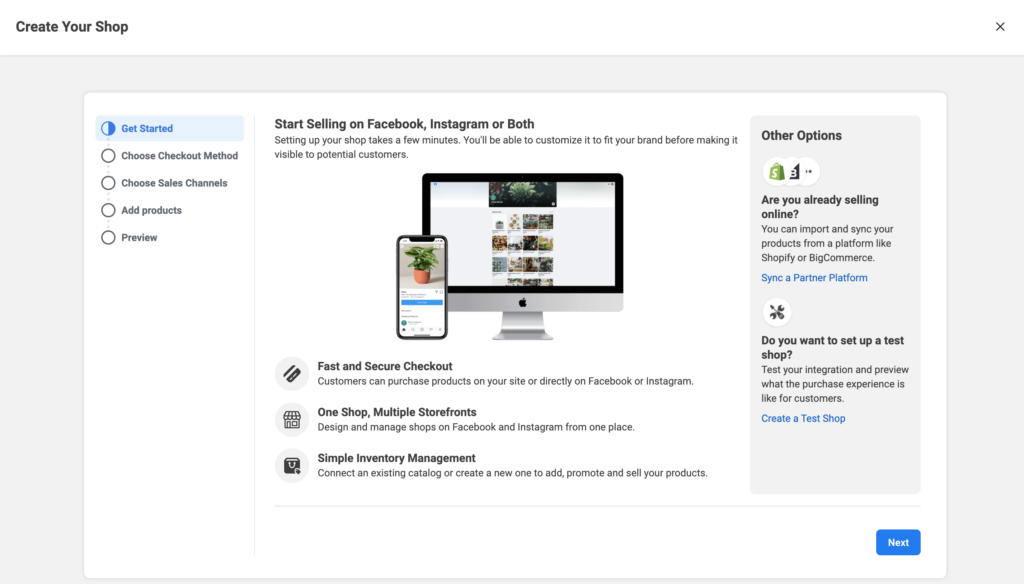
You should be in the Facebook Shop Wizard, which will look like this:
When you get to the second step, Choose Checkout Method, Please select Checkout on another Website then click Next:
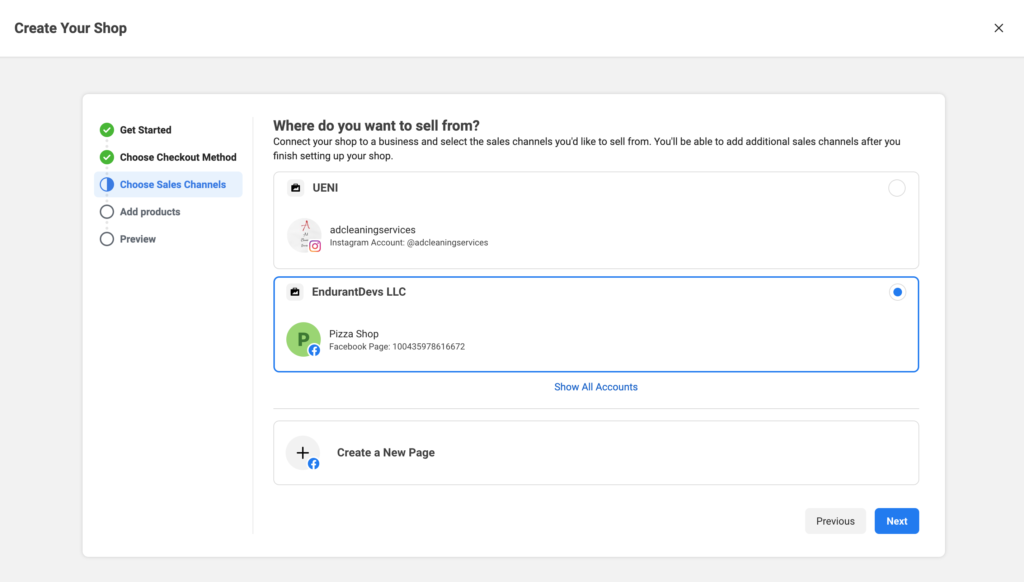
In the third step, select the correct Business Manager Page, as seen below:
Note: If you have an existing Facebook Shop on the page you are trying to connect with your UENI website, you will get an error here and you won’t be able to complete the process within the Facebook Business Manager. Instead, you will need to finish the sync setup manually – but once it’s configured, all your products will sync automatically between your UENI website and your Facebook Shop. If this is the case, skip ahead to Troubleshooting to learn how to proceed with the manual setup.
At this point, Facebook will ask you to confirm your email address. Enter it and push Submit.
When you get to the Add Products Step, select the UENI Product Catalog:

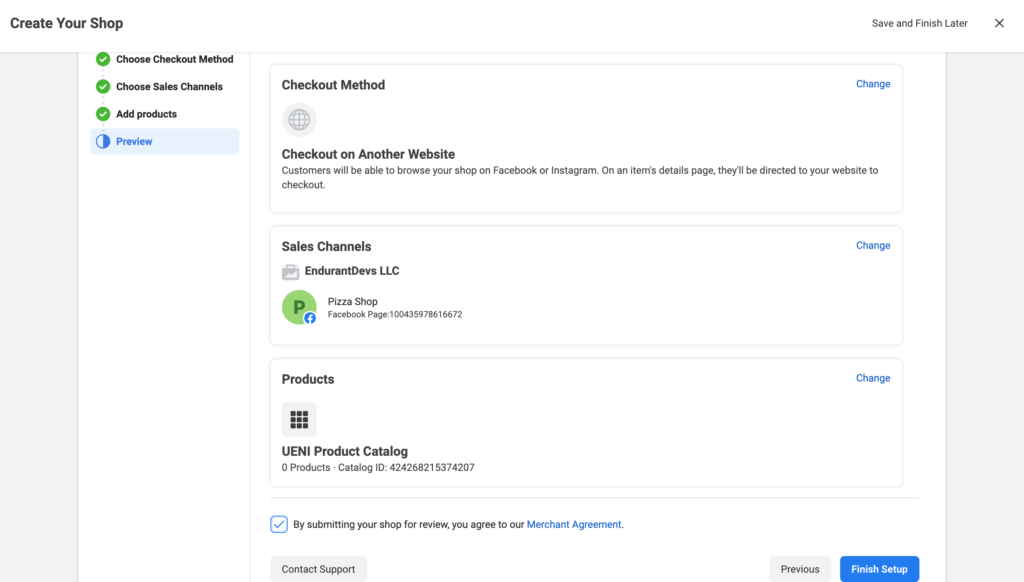
Last but not least, you’ll find yourself on the Preview Page. Make sure all the information is correct, then click on Finish Setup (the blue button in the bottom right):
Congratulations! Your UENI website and your Facebook Shop are now synched.
Time to break out the champagne, you’ve earned it.
Troubleshooting
As mentioned above, if you have an existing Facebook Shop, you won’t be able to finish the automatic sync setup between your UENI website and your Facebook page. Instead, follow these steps:
- Open Editor > Settings > Shopping Cart > Product Sync
- Copy Product Feed URL
- Upload Data Feed file to a catalogue:
- Go to www.facebook.com/products and select a catalogue (if you don’t have any catalogues, you can create a new catalogue and click on Upload Product Info)
- Open the Catalogue tab and go to Data Sources
- Select Add Items
- Select Use Bulk Upload followed by Next
- Select an upload option for the data feed: Scheduled feed to set up an hourly, daily or weekly upload schedule
- Enter the data feed URL where the file is hosted – this is the link you copied from the UENI Editor on the 2nd step. When you’re finished, select Next
- Select whether you want scheduled uploads to happen hourly, daily or weekly, and the time you want them to happen. You can also opt for automatic updates so the catalogue is updated whenever it detects a new file version on their UENI website. Select Next
- Enter a name for the scheduled feed
- Select a default currency. If the prices in your data feed don’t include an ISO currency code, this default currency will display in any ads or commerce channels connected to your catalogue
- Select Upload or Next
You may need to delete any existing products before you’re able to complete the manual sync. However, once it’s configured, all your products will be uploaded automatically with the information on your UENI website and updated at your chosen frequency.