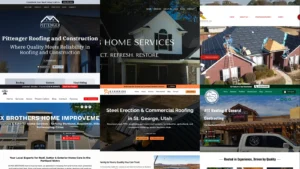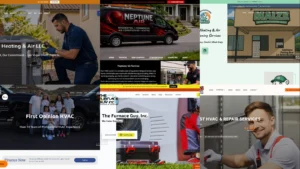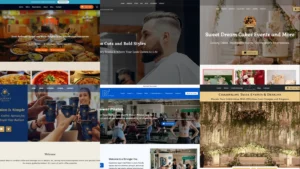
We know you’ve heard this one before, but let us say it one more time: a picture is worth a thousand words. When it comes to your business website, good personalised pictures throughout are essential to help your customers understand your business and what you do.
Personalised pictures can make your business more memorable, transmit key information to your customers in a glimpse, and make your website more attractive to potential customers, making them more likely to stay longer and take the time to read about your offerings.
If you want to learn more about why custom pictures are fundamental to a good business website, we wrote about it in this blog post comparing stock and custom photos.
Have a look at the video below for a demonstration of the whole process.
Because we’re aware of the massive impact pictures can have on a website’s performance, we’ve been hard at work to bring you our latest update: multi-image support for services and products.
Starting today, you will be able to upload between 3 and 10 pictures per service or product, depending on your plan – a great improvement compared with the single picture that was supported so far.
But, how does this affect your business? Simply put, you can give your potential customers a better idea of what they’re going to get. In other words, if you’re a hairdresser, you will be able to upload multiple angles of the same hairstyle, if you’re a graphic designer you can upload different logos you’ve designed, and if you own a clothing store you will be able to upload multiple shots of the same piece of clothing to show your customers every detail.
Eager to get started? Keep reading!
Uploading Multiple Images
Whether your business is service or product-oriented, all you need to do is log into your Hub and open the Editor. Once you’re there, follow these steps:
- Go to Sections.
- Choose Products or Services, depending on what you’re offering on your website
- If it’s your first time adding products or services to your website, learn how to upload products here and how to upload services here.
- Click on your Product/Service Group of choice and then on the product or service you want to add pictures to.
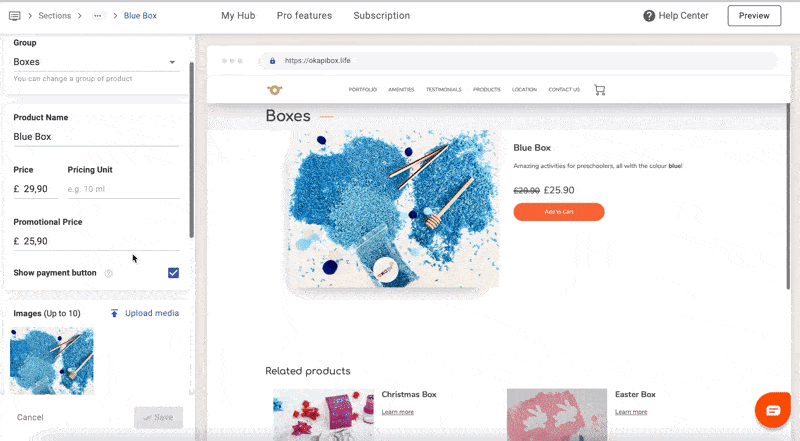
- You’ll see that the Image field now allows up to 3 pictures in the Starter plan, and up to 10 in the Plus and Reputation plans, as illustrated here:
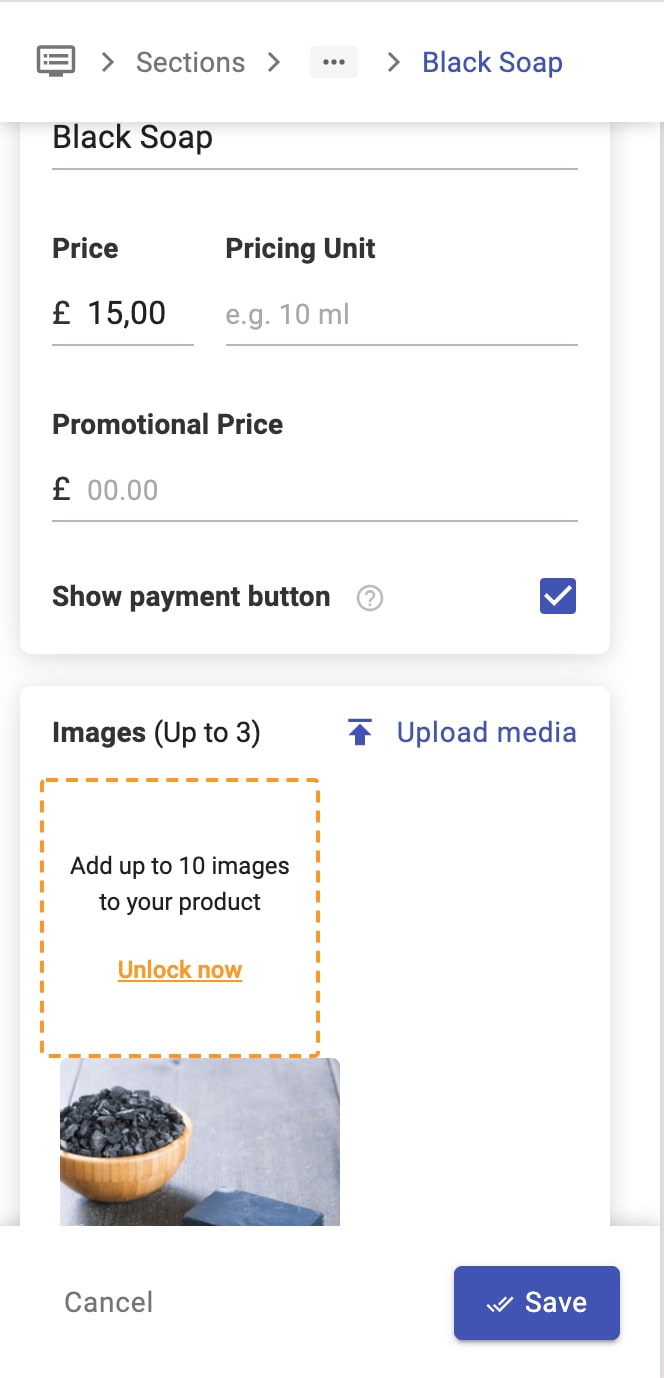
- Click on Upload media to upload any pictures you want directly from your device.
- Select the pictures you want to add to your Product or Service and click Choose. Don’t forget to save!
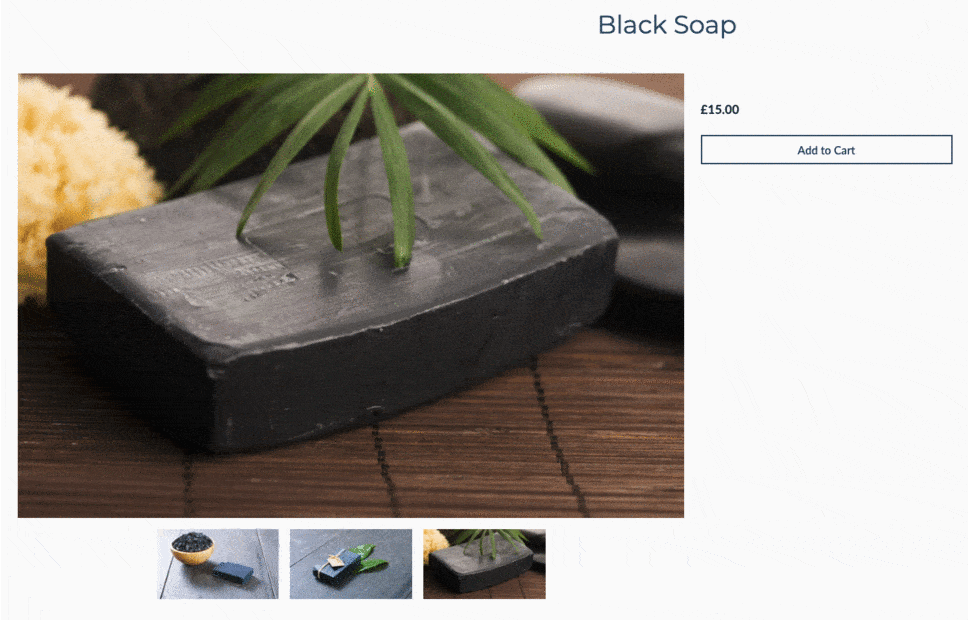
All done! Now when your customers arrive at your website, they’ll be able to switch between the pictures you’ve uploaded, as you can see in the image below.
If you’ve chosen to synchronise the products on your UENI website with Google, Facebook and Instagram, the new pictures will automatically sync and appear across platforms.
If you need some advice to learn to make the best product and service pictures on a budget, have a look at this blog posts explaining how to create amazing service photos on a budget and how to create amazing product photos on a budget.
Editing Default Picture & Reordering Pictures
Once you’ve uploaded all the images you want to your product or service, you’ll also be able to choose the order you want to display them in and the main picture that will represent your product or service in the preview.
All you have to do is click on the picture you want to move and drag it to the position of your choice. If you’re on mobile, you’ll have to do a long press on the image and then slide it to its place.
To choose your default picture, just set it as the first image of the series.